
Materials:
- Photocopied versions of your designs (note: it will be reversed!)
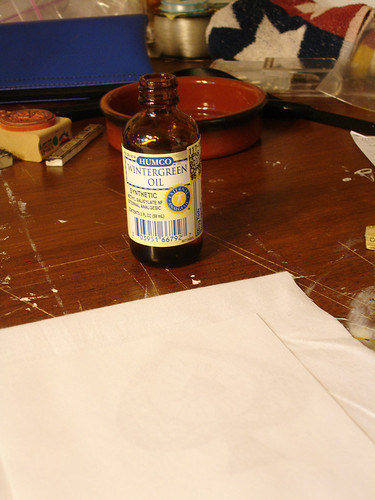
- Wintergreen Oil (mine is synthetic)
- Paper towels
- Tape
- Fabric / paper you want to transfer onto
- Iron*
- Tissue Paper*
* May not be necessary
Note: You will be using a concentrated oil, so you might want to wear gloves. You definitely do NOT want to get it in your eyes. It's also good to do this in a ventilated area, or at least one with an open window!
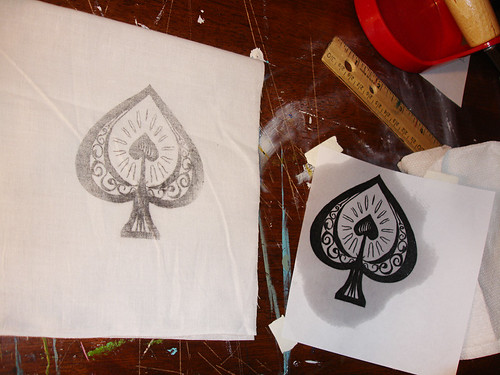
Step 1: Cut out your photocopied designs and place them copied sides up on fabric to figure out where they go. I had to measure mine from the edges and everything. I designed these spades for my Alice apron - they're pretty much symmetrical so I don't have to worry about the reversal.

Step 2: Flip over your photocopied designs (re-measure to make sure they're in place) and tape them with the photocopied side down.
Step 3: Open up the wintergreen oil (trust me, if your nose is in any way sensitive, you want to wait until now) - fold up a paper towel, put it over the open end of the oil, and tip it 2-3 times. It doesn't take much oil, and it is smelly.
Step 4: Blot the paper towel full of wintergreen oil on the face down photocopy until the entirety of your design is wet (it will become pretty much see-through, so it's easy to tell if you miss any spots). You probably want to close up the wintergreen bottle at this point, too.
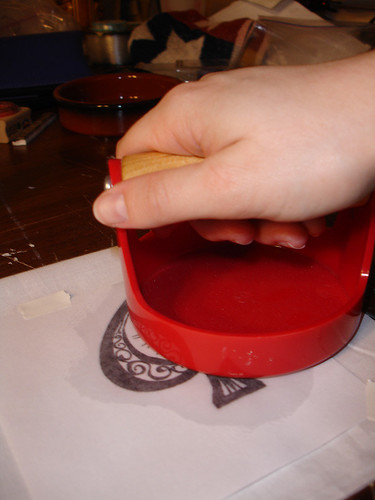
Step 5: Rub/press the paper towel over the design, being careful not to move the design (good thing it's taped down!). If you own a baren, you can use that. You don't have to do too much - the more you rub/press the more the image transfers, but after a certain point the ink starts to bleed/feather a little, and your image may be a little blurry.
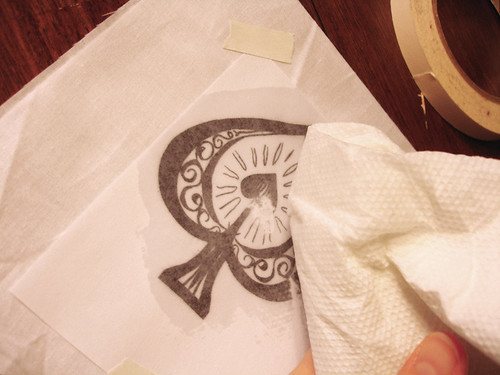
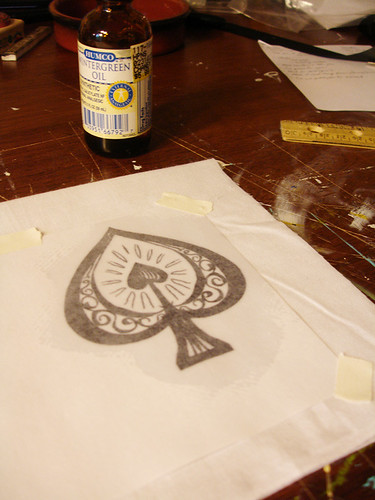
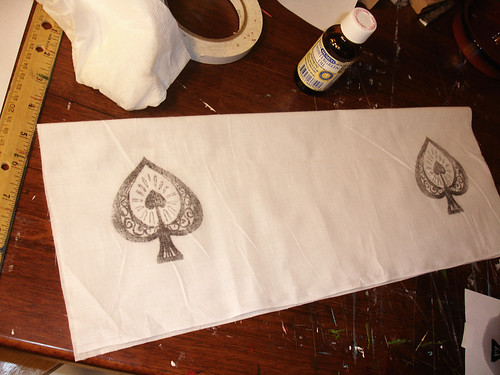
Step 6: Remove the tape and peel back the paper -Tada!
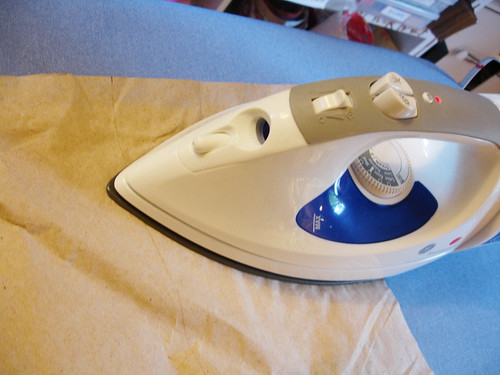
Step 7: Let the design dry and iron (I was impatient to make this tutorial, so I didn't let mine dry, but it's probably a good idea). Put some tissue paper over the design and iron it. The tissue paper will keep the ink from transferring onto your iron (it will transfer onto the tissue paper, however slightly). I don't know if the ironing is necessary but it seemed like a good idea.
Step 8: Wash. I washed mine with Woolite, cold/cold, on the handwash/casual setting. It came out fine!
I also washed it by itself, so it wouldn't transfer onto anything else, but that may not be a problem. I didn't have time to check before this. I also let mine air dry, because I worried the heat in the dryer might make re-transfer.
Now, it depends on what you're doing with this whether you want to wash it or not. Keep in mind that the fabric will overwhelming smell like mint for a week or longer if you don't wash it. Also, if it will be touching human skin for a prolonged period of time (especially around the eyes!) then it's a good idea to wash it.
And now you're done! There you go! Practically photocopying designs onto fabric! Next time I'm going to make Will a cool button-up shirt.
6 comments:
Hey Leah, I know you posted this ages ago, but I've wanted to try this for months and your tutorial is exactly what I've been looking for. Yet to try it, but soon...I'll let you know if I have any luck. Thanks for taking the time to show pics, etc. (Great for gumbies like me!)
Di
Thanks Diane! I am about to do another project with wintergreen transfer, and I was reading through the tutorial to make sure it still made sense. I'm glad you're getting use out of it!
do you need to use an image from a photocopier or can you use an image from your printer?
Most printers have water/liquid soluble designs, and therefore, won't work. Photocopies work because they don't run when they get wet.
Hey as a printer I can chime in on this.
Laser printers will work because the 'ink' is actually toner which are small flakes of pigment that are fused to the paper using LASERS. (99% of photocopiers are laser as up until recently it's been the only option for commercial printing)
Inkjet won't work because the the ink is liquid and will run.
Nice tutorial. Today, your post have made my day. Thanks.....http://goo.gl/yzbknf
Post a Comment